Back
  • Tutorials
  • Higgsfield AI x After Effects Tutorial Part 2: Animating AI-Generated Assets

Higgsfield AI x After Effects Tutorial Part 2: Animating AI-Generated Assets

  • Jun 26, 2026
earnedits.com
00:00 00:00
Quality
Speed

Higgfield AI X After Effect Part 2

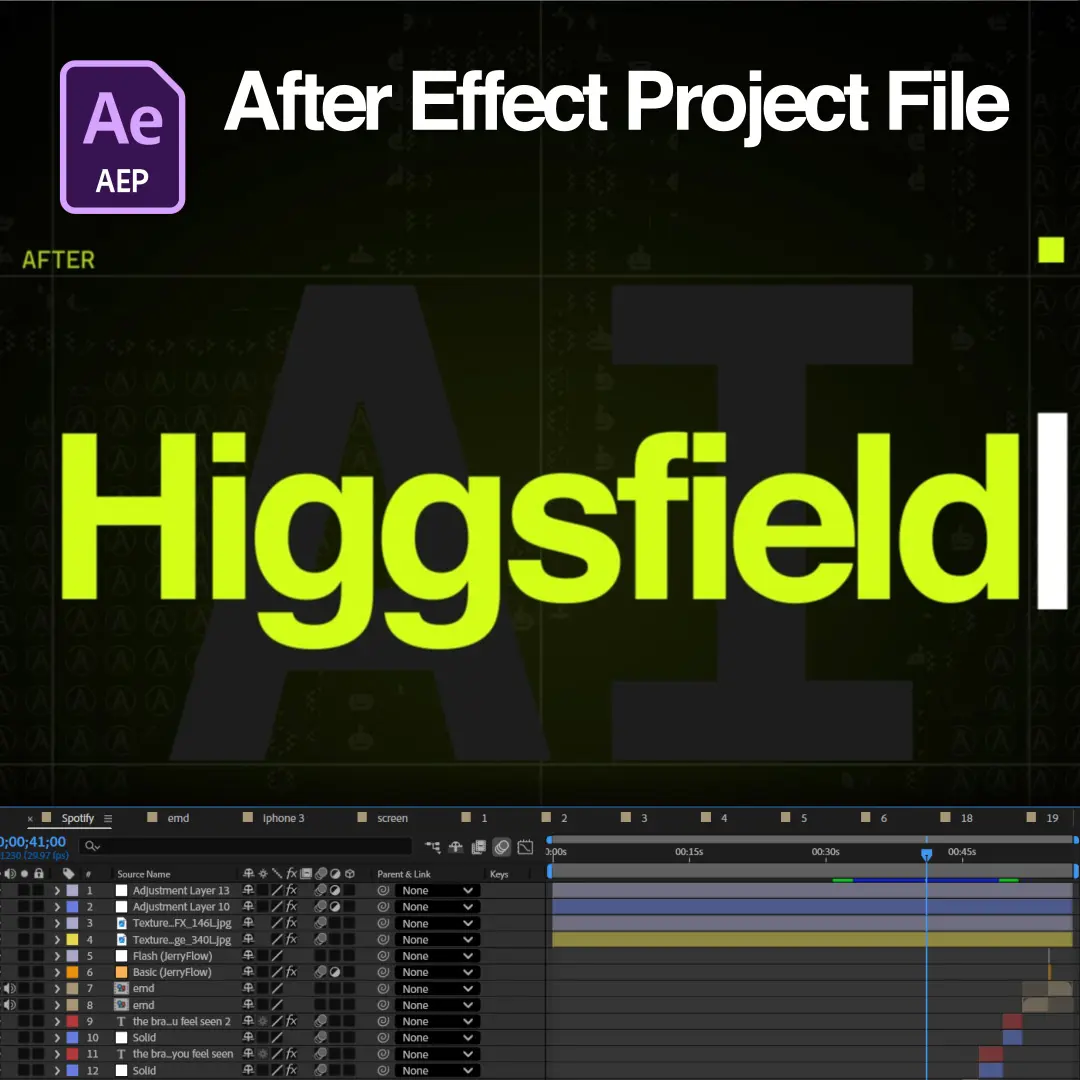
Download the project file

project-file-thumb

Higgsfield for After Effects — AI Editing, Reimagined

Download the exact .AEP file used in this tutorial and follow along inside After Effects.

Part 2 of the Higgsfield AI x After Effects tutorial teaches the animation stage of the workflow: composition building, motion principles, text and UI animation, camera movement, shape layer techniques, expressions, transitions, and final polish. The lessons explain how we animated each scene of the project inside After Effects, working from the AI-generated assets covered in Part 1.

Every technique appears inside our open project file, so the full timeline is available for study after each lesson. Editors finish Part 2 able to structure, animate, and polish AI-generated assets into a finished professional edit.


What Part 2 Covers


Part 2 moves through nine scene builds plus the project organization workflow behind them. The lesson sequence is listed below:

  1. Building the composition: importing, organizing, parenting, pre-composing
  2. Motion principles: easing, speed and value graphs, overshoot, anticipation, follow-through
  3. Text animation: position, opacity, scale, blur, character, and tracking animation
  4. Icon and UI animation: pops, elastic scaling, micro-interactions
  5. Camera movement: null object rigs, parallax, push-ins, whip pans
  6. Shape layer techniques: Trim Paths, Repeater, stroke animation, morphing
  7. Expressions: every expression in the project, explained with reasoning
  8. Scene transitions: swipe, scale, morph, liquid, and match cut transitions
  9. Polish: motion blur, glow, grain, color correction, sound, and timing


How We Build and Structure Each Composition


Composition structure decides how fast every later animation stage moves. The opening lessons demonstrate importing the AI assets, organizing layers with color labels, parenting for grouped movement, pre-composing for clean nesting, and preparing the timeline before the first keyframe.

Motion principles follow the structural setup. The lessons demonstrate Ease In and Ease Out, the Speed Graph and Value Graph, overshoot, anticipation, follow-through, and secondary motion. These principles carry every scene in the project, because AI-generated assets read as professional animation only when the motion obeys them.


How We Animate Text, Icons, and Interface Elements


Text and UI animation give the project its rhythm across every scene. The text lessons demonstrate position animation, opacity fades, scale reveals, blur transitions, character animation, and tracking animation. The interface lessons demonstrate pop animations, elastic scaling, hover states, cursor interactions, button presses, loading indicators, and micro-interactions.

Camera movement ties the animated elements together. The lessons demonstrate null object camera rigs, zoom transitions, parallax depth, push-ins, match cuts, and whip pans across the scenes.


The Expressions Behind the Project, Explained


The expressions lesson explains every expression in the project file and the reason each expression was chosen over manual keyframes. The project uses bounce, wiggle, loop, delay, follow animation, value linking, auto rotation, and time remapping.

Reasoning is the teaching point, not syntax. Manual keyframing wins when motion is unique to one moment. Expressions win when motion repeats, reacts, or survives asset swaps. The lesson shows where each expression lives in the open file, so editors modify values and study the behavior directly. Shape layer techniques receive the same treatment across Trim Paths, Repeater, Offset Paths, Merge Paths, stroke animation, and shape morphing.


How We Finish the Edit: Transitions and Polish


Transitions and polish move the project from assembled to premium. The transition lessons break down swipe, scale, morph, liquid, motion blur, and match cut transitions between scenes. The polish lessons demonstrate motion blur, glow, shadows, grain, color correction, sound effects, and timing adjustments.

Small refinements produce the premium feel. The final lesson covers our project organization workflow: folder structure, naming conventions, color labels, precomp organization, asset management, and render settings. The workflow matches the organization standard inside every EarnEdits project file.


The Project File Behind This Tutorial


This tutorial is built on our open Higgsfield for After Effects project file, and every scene shown in the lessons is editable inside the file. The goal is understanding the workflow rather than copying the project. Editors study the timeline, modify the expressions, and apply the techniques to their own motion graphics. The file follows the EarnEdits open standard with full layer access, editable text, and color controls.


Who This Tutorial Is For


Part 2 serves editors comfortable with basic After Effects navigation: the timeline, the Project Panel, and keyframe fundamentals. Editors starting from the asset generation stage benefit from Higgsfield AI x After Effects Tutorial Part 1 first, which covers prompt writing and animation-friendly asset creation. The full library of After Effects tutorials for EarnEdits project files is included in every subscription.


Frequently Asked Questions


Is Part 2 free to watch?

Part 2 is free to watch. The complete tutorials library plus all six project file categories is included in the EarnEdits subscription.


Which After Effects version does the project require?

The project file opens in After Effects 2023 or later. The expressions used in the project are version-stable across current releases.


Does Part 2 require finishing Part 1 first?

Part 2 stands alone for editors who work from the assets already inside the project file. Part 1 becomes necessary only for editors who want to generate their own AI assets from scratch.