The retro editing style is built from six techniques, faded color grading, film grain, frame rate drops, chromatic aberration, analog artifacts, and era framing, organized around one rule: pick the era first. We rebuild recognizable styles to study them, and retro is the most misunderstood style in the set. Retro is not one effect lathered on thickly. Retro is an era system, where every technique matches a specific decade.
All six techniques run on native After Effects tools, no plugins required. This deconstruction covers each technique with real settings, the four eras that organize them, and the rule separating a period-accurate edit from a filter.
Retro editing recreates the visual signature of a past era, and the era decides every technical choice before any effect gets applied. The style splits into four distinct looks, each with its own grading, grain, and artifacts. The vintage label covers the same territory, with retro as the term editors search and use.
The era system is the frame the whole style hangs on. An edit that mixes 80s neon with 90s tape damage reads as confused, not nostalgic. An edit that commits to one era reads as authentic. The retro look also carries real weight in short-form work, where nostalgia stops the scroll. That territory is covered in our guide to viral After Effects project files for social media.
The 70s groovy look
The 70s look runs on warm faded film, soft contrast, and rounded typography. Yellowed highlights, lifted blacks, and gentle grain define the palette. The type is thick, curved, and friendly.
The 80s synthwave look
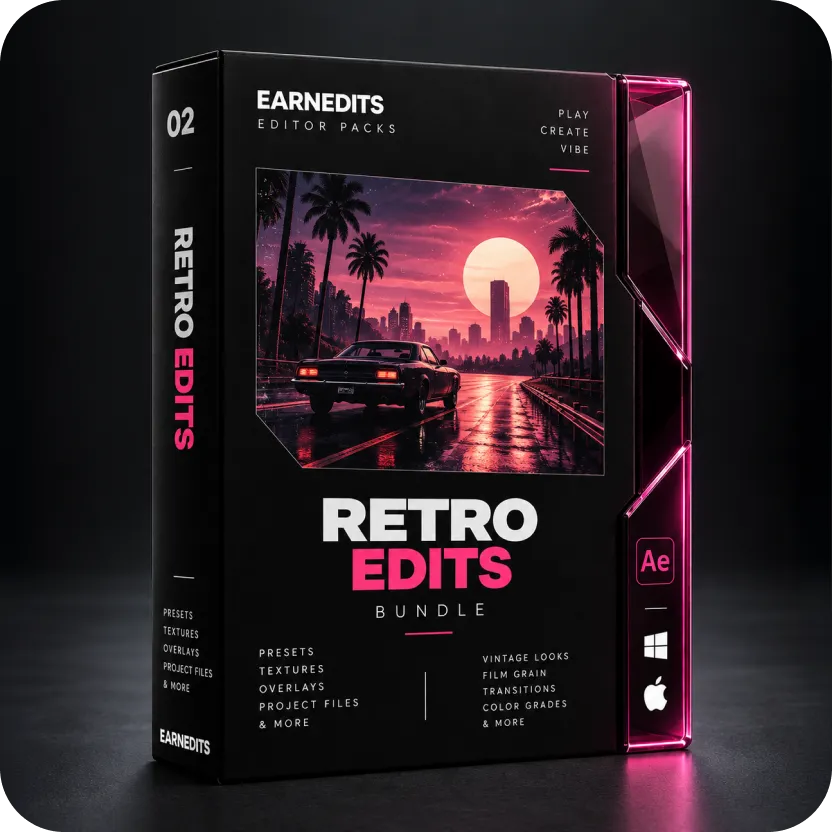
The 80s look runs on neon glow, chromatic color separation, and grid horizons. Saturated magenta and cyan, glowing edges, and bold geometric type carry the aesthetic. The look leans electric rather than faded.
The 90s VHS look
The 90s look runs on tape damage: tracking errors, scanlines, color bleed, and washed contrast. This is the largest retro cluster, and the one most edits reach for. The VHS signature reads instantly on any screen.
The 2000s digicam look
The 2000s look recreates early digital cameras: crushed sharpness, harsh flash, dated interface overlays, and a 4:3 frame. This is the newest retro era and the one most guides skip entirely. The digicam aesthetic is nostalgia for the first digital generation, and demand for it keeps growing.

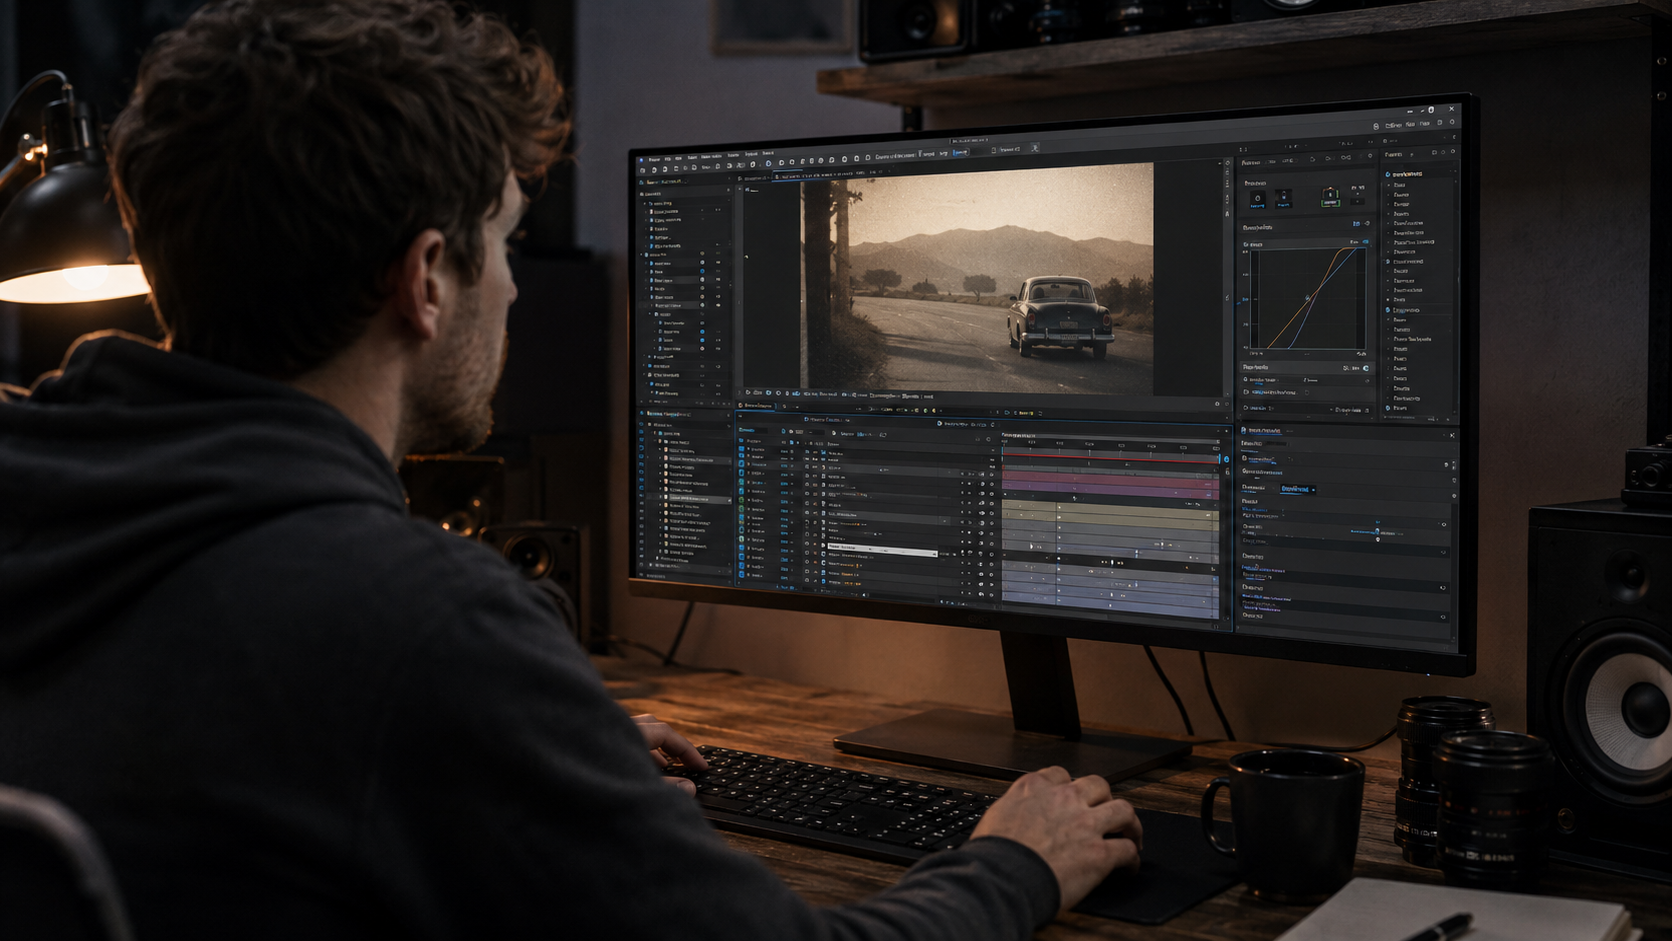
Retro grading starts with a Curves adjustment that lifts the blacks and pulls down the whites, then removes 20 to 30 percent saturation. Old footage never holds pure black or pure white, and the faded range sells the age instantly.
The era decides the color shift on top. Warm yellow-orange for the 70s. Electric magenta-cyan for the 80s. Washed neutral for the 90s. Slightly green digital for the 2000s. One Curves layer and one saturation move, matched to the decade, carry most of the look before any artifact gets added.
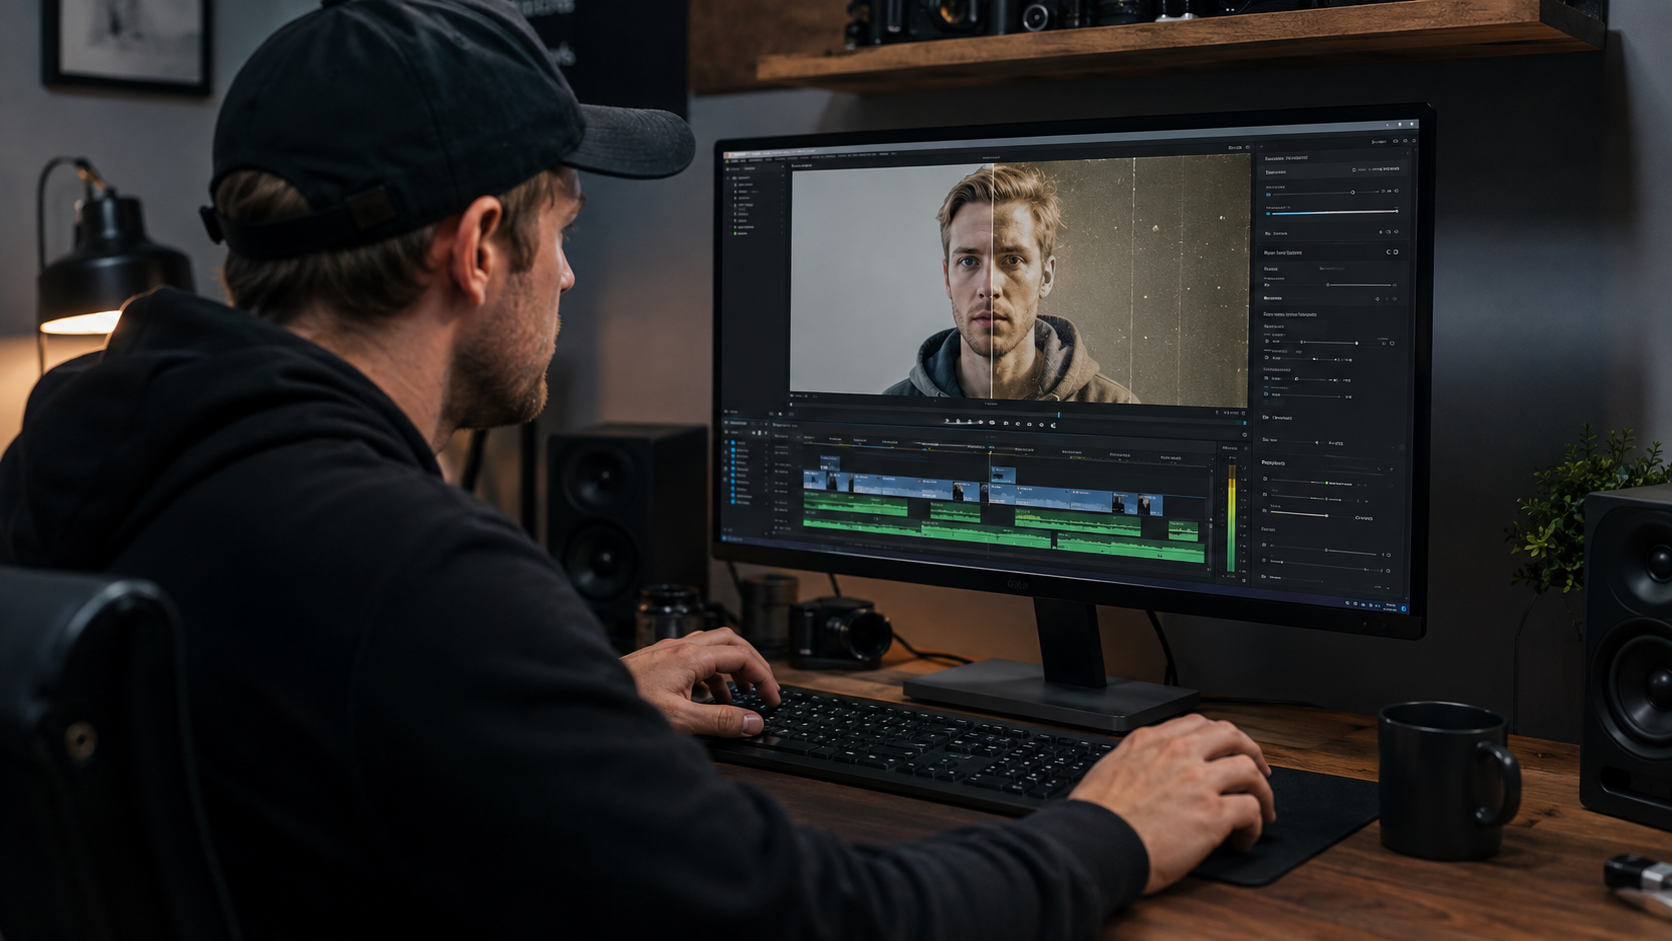
Grain sells age, and the Noise effect at 15 to 25 percent is the base layer of every retro edit. Clean digital footage reads modern regardless of the grade. Texture breaks the cleanliness.
Fractal Noise builds the damage on top: thin vertical scratches, dust hits, and flicker in the exposure. The era scales the damage. Film eras take scratches and dust. Tape eras take dropout and smear. Digital eras take compression blocking instead of grain. Matching the damage type to the era is what separates texture from noise.
Posterize Time at 12 to 18 frames per second gives retro motion its dated cadence. Modern footage moves at a smoothness old formats never had, and the frame rate drop removes it.
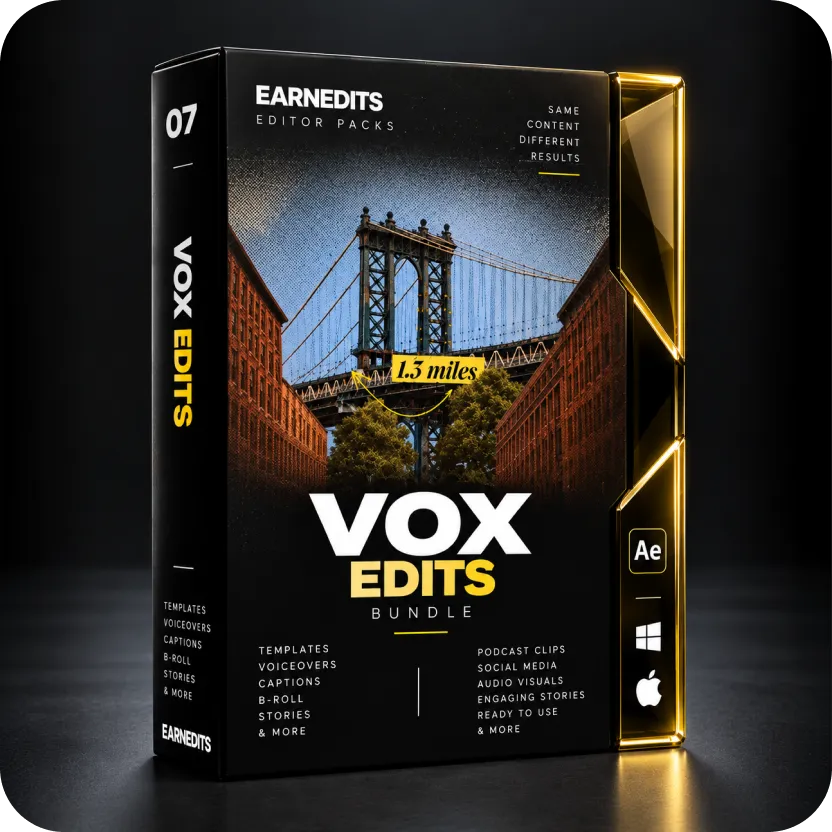
The same effect drives a different style at a different setting. Our deconstruction of how Vox-style edits are built covers the 12fps stutter as an explainer signature. Retro uses the identical tool to signal age rather than craft. One effect, two styles, two purposes, which is exactly how technique knowledge compounds across styles.
Chromatic aberration builds from three copies of the footage with Shift Channels isolating red, green, and blue, then offsetting the copies a few pixels. The misaligned channels recreate the color fringing analog systems produced naturally.
The offset distance sets the era intensity. A subtle one-pixel shift reads as film. A heavier smeared offset reads as worn tape. The 80s look pushes the separation furthest, where the fringing becomes part of the neon aesthetic rather than a flaw.
Analog artifacts are the moving flaws: scanlines, tracking errors, flicker, and jitter, and they run on native effects plus two short expressions. Venetian Blinds at high frequency builds the scanlines. A displaced horizontal band builds the tracking error.
The movement comes from wiggle. An opacity flicker runs on wiggle(12, 0.3). A position jitter runs on wiggle(6, 2). Both expressions stay short, readable, and adjustable. Reading them inside a real file is the fastest way to learn them. Our guide to After Effects expressions for editors who do not code covers the method.
Retro framing pulls the image into a 4:3 or 1:1 aspect inside the modern frame, with Motion Tile or solid bars building the borders. The narrowed frame signals the era before a single artifact renders.
Typography completes the period accuracy. Rounded 70s type, chrome 80s type, system-font 90s overlays, and pixelated 2000s interface text each date the frame on their own. Sound design belongs to the same system, where tape hiss and mechanical clicks close the illusion the visuals open.
A professional retro edit picks one era and matches every technique to it, and an amateur edit lathers one effect on thickly and calls it done. This is the whole difference, and the biggest voices teaching this style say the same thing.
The failure mode is the single heavy filter. One VHS overlay dropped on modern footage, with modern motion, modern framing, and modern type underneath. The overlay says old, and everything else says new, so the edit reads as fake. The professional version commits: the grade, the grain, the frame rate, the artifacts, and the type all agree on the decade. Era coherence is the rule, and the six techniques are its instruments.

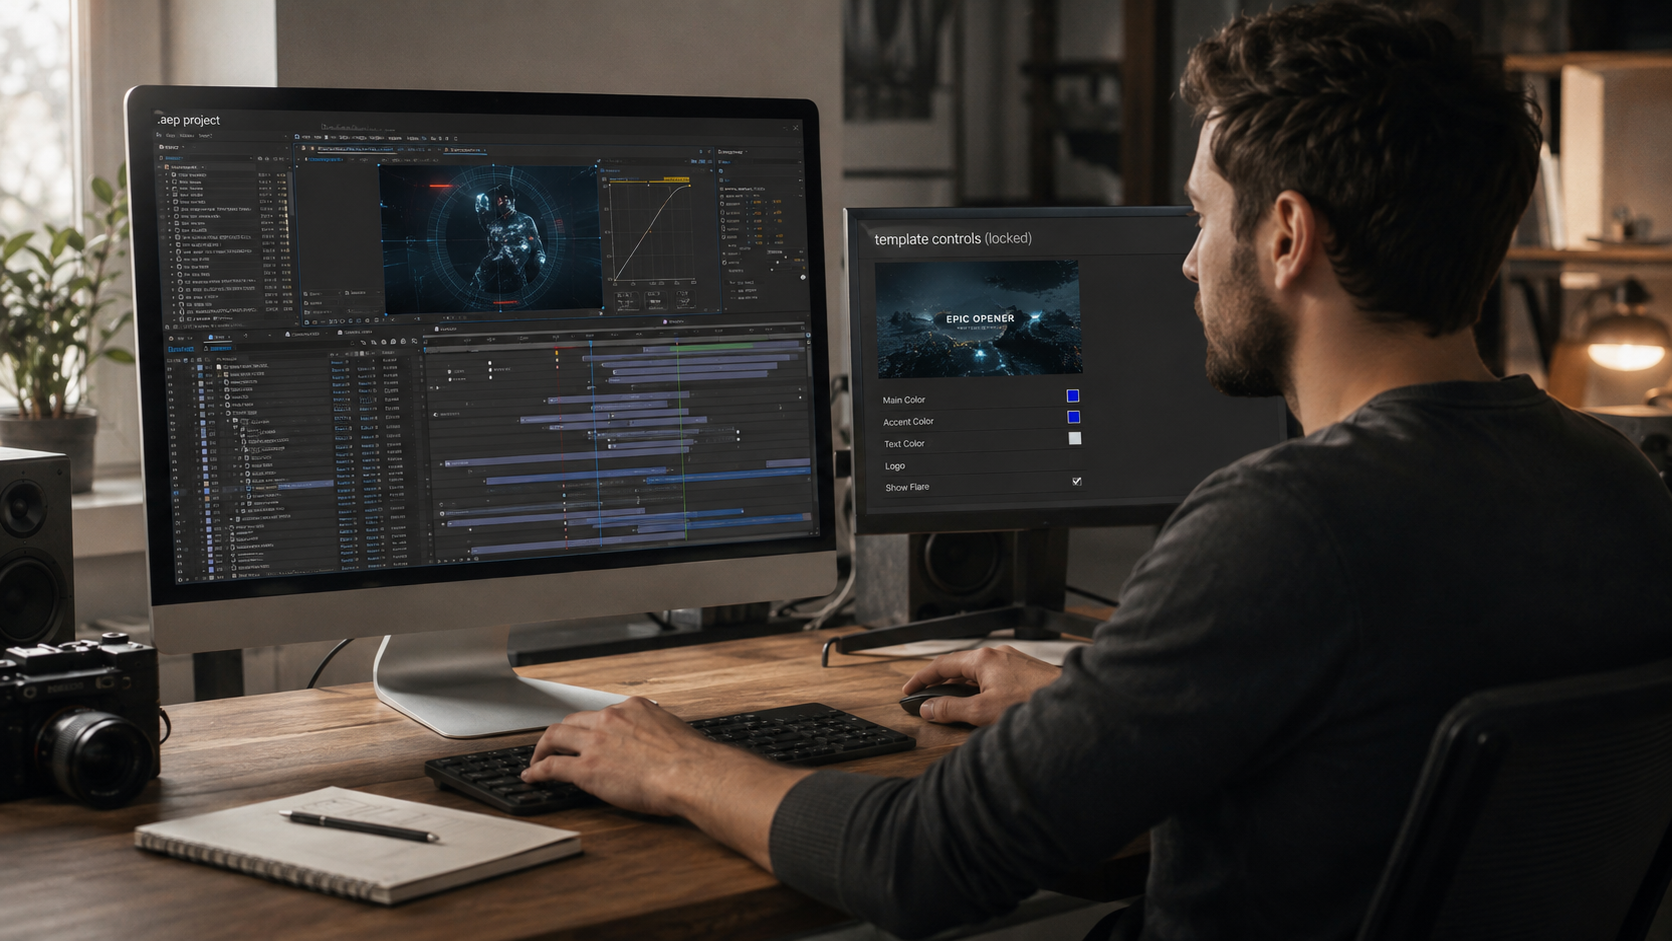
The fastest way to learn retro editing is opening a project file built in the style and reading the construction layer by layer. A technique list builds recognition. An open timeline builds the skill.
A retro file shows the Curves values, the noise settings, the wiggle expressions, and the layer order exactly as the build used them. Our retro edits category carries open project files committed to specific eras, with every layer editable. The selection standards for study-ready files sit in our guide to the best After Effects project files for beginners. The full deconstruction method runs through our guide to learning After Effects with real project files.
Faded Curves grading, Noise grain, Posterize Time, Shift Channels aberration, scanlines, and era framing build the retro look. The era decides the settings for each. All six run on native After Effects tools.
Crushed sharpness, harsh flash exposure, a 4:3 frame, and dated interface overlays recreate the early digicam look. Compression artifacts replace film grain, because the era was digital, not analog.
No. Every core retro technique runs on native tools and short wiggle expressions. Curves, Noise, Fractal Noise, Posterize Time, Shift Channels, Venetian Blinds, and Motion Tile cover the full system.
Posterize Time between 12 and 18 frames per second produces the dated motion cadence. Lower values read as older film. Higher values inside the range read as home video.
Commit to one era and match every technique to it. A single overlay on modern footage reads as fake, because the motion, framing, and type underneath stay modern. Coherence across all six techniques is what reads as real.
Explore more guides on After Effects project files and viral editing workflows.
Production-ready edits that teach you how they were built.