Back
Back

 Jun 02, 2026
Viral social media edits across reels, TikTok, and YouTube Shorts follow specific technical patterns inside After Effects that drive watch time and shares. The first 1.5 seconds hook viewers through motion, beat-synced cuts hold rhythm, velocity remapping controls energy, and 3D camera movement adds depth to flat footage. These patterns live inside .aep project files as keyframe structures, effect stacks, and composition hierarchies any video editor studies, customizes, and exports.
EarnEdits builds project files around these exact viral patterns, with fully exposed keyframe structures, organized layers, and editable compositions designed for social media editors.
Viral edits share 6 structural patterns that trigger platform algorithms and hold attention. The patterns are technical rather than accidental, and each one maps to a specific After Effects technique.
The opening frame uses 3 hook techniques: high-speed camera movement, a bold text statement, or a dramatic visual shift. Algorithms measure scroll-stop rate. Content that fails to pause viewers within the first second fails regardless of quality.
Every transition, zoom, and text animation lands on an audio peak. Viewers sense the sync even when they cannot identify it technically. The beat-cut pairing carries a measurable retention lift on short-form platforms.
Time stretches and compresses within a single clip. Speed slows to 0.5x at a peak moment, then snaps to 3x on the exit. The signature hard-edit feel comes from Bezier velocity curves drawn in the graph editor.
A null object parents the camera layer. The camera orbits, pushes in, and pulls back through position and rotation keyframes on the null. The technique creates cinematic depth in flat 2D compositions.
Every animated layer runs with motion blur enabled. Fast movements without motion blur look choppy and amateurish on playback. The composition-level motion blur switch sits next to the layer-level switch and both stay on for viral-grade output.
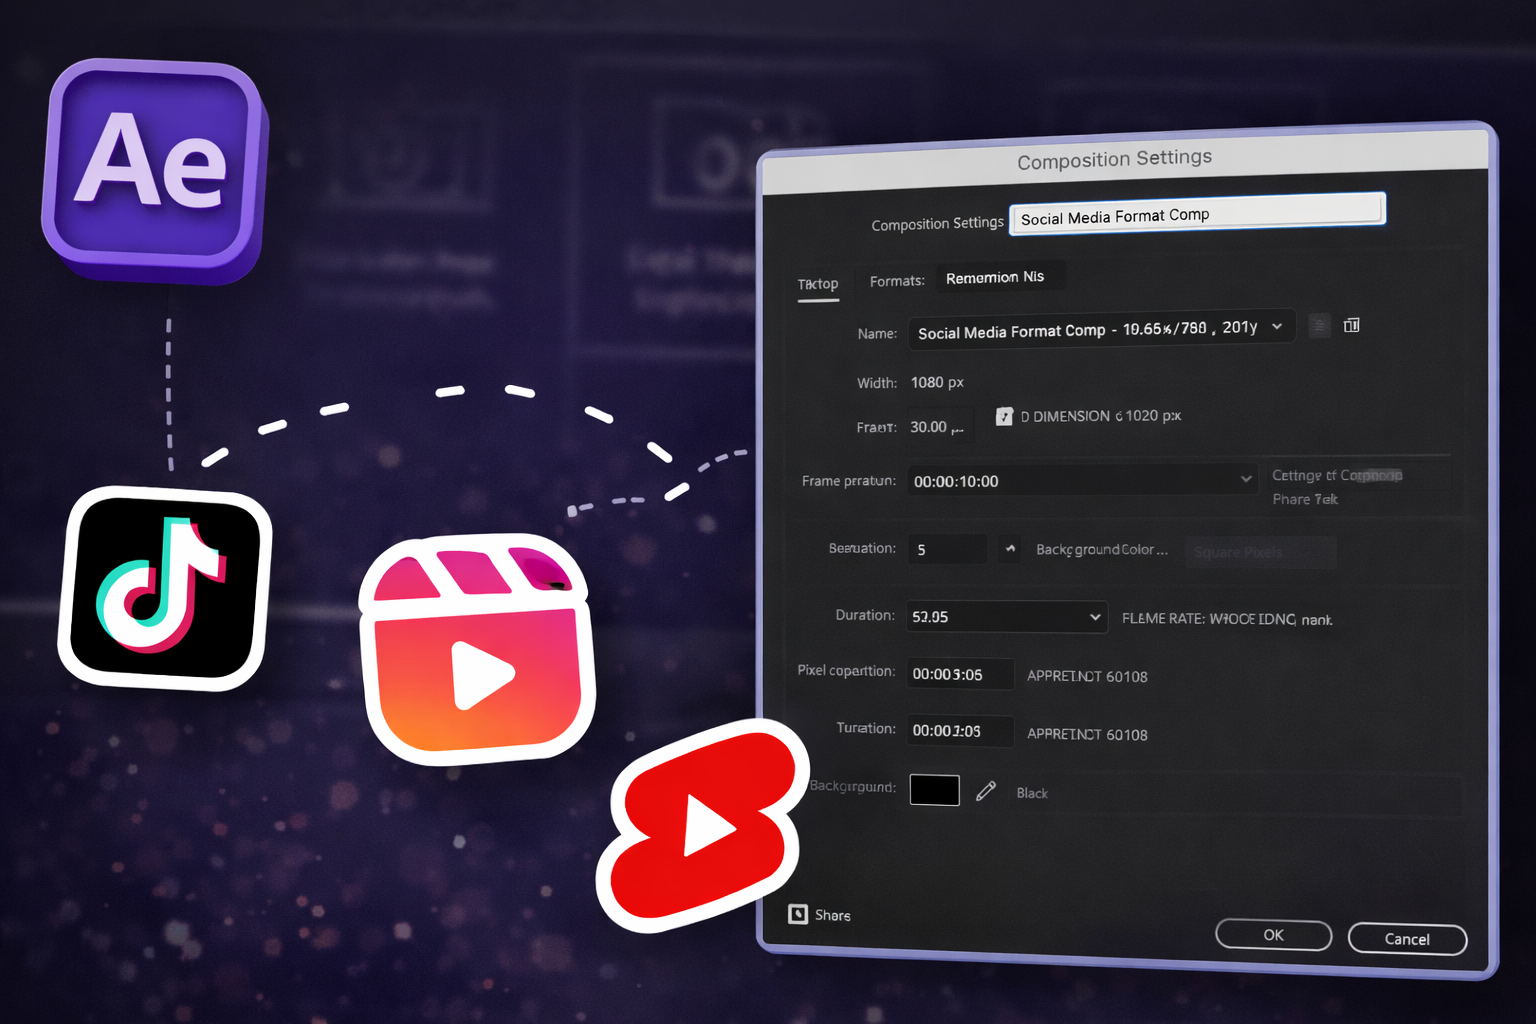
1080×1920 resolution at 30fps. 15 to 32 seconds total runtime. Every frame carries information with no dead space.

Downloading a project file and exporting it unchanged produces generic content audiences recognize as template work. Customization separates effective use from cookie-cutter output. The process runs through 6 steps.
Press U on each layer to reveal animated properties. Open the graph editor to understand the timing logic before changing any value. Labeled layers make this step faster.
Drop clips into the designated footage compositions. Match the original clip duration, or adjust keyframes to fit. Mismatched durations create awkward holds or premature cuts.
Set the audio waveform to visible (press LL on the audio layer). Move cut points and transition keyframes to align with the new track’s beats and drops. The audio re-timing step alone makes the edit feel custom rather than templated.
Use the dedicated color control panel inside the project file to modify the global color scheme across compositions. The control panel adjusts all linked layers at once without affecting individual layer settings.
Change headline text, font weights, and animation timing in the labeled TEXT_EDIT compositions. Default placeholder text signals template use immediately to viewers.
Add whooshes, impacts, and texture sounds synced to transition points and text reveals. Confirm no critical elements sit in the top or bottom 10 percent of the frame. Export at 15 to 20 Mbps.
Studying an open .aep from a proven viral edit reveals more about motion design than hours of tutorial video. A 60-minute tutorial shows one editor’s screen. An open project file exposes every keyframe, layer, and effect parameter in a format the editor manipulates directly.
Real project timelines reveal the exact decisions behind each transition, text reveal, and camera movement. Selecting a keyframe and inspecting its easing curve in the graph editor explains why a specific animation feels fast or smooth.
The approach runs through 4 stages. The editor starts from a viral edit that already performed. The editor studies the build. The editor customizes it with new content. The editor publishes a reel following the same proven structure.
30fps for standard edits. Edits with velocity remapping that creates slow-motion segments benefit from a 60fps source frame rate, which produces smoother slow-motion without frame-interpolation artifacts.
Yes. Scale the footage up and reposition using position keyframes to frame the subject within the 9:16 composition. The approach loses edge content but maintains resolution on the visible area.
15 to 45 seconds. The 20 to 32 second range performs most consistently across platforms. Watch-through percentage matters more than total length for algorithm distribution.
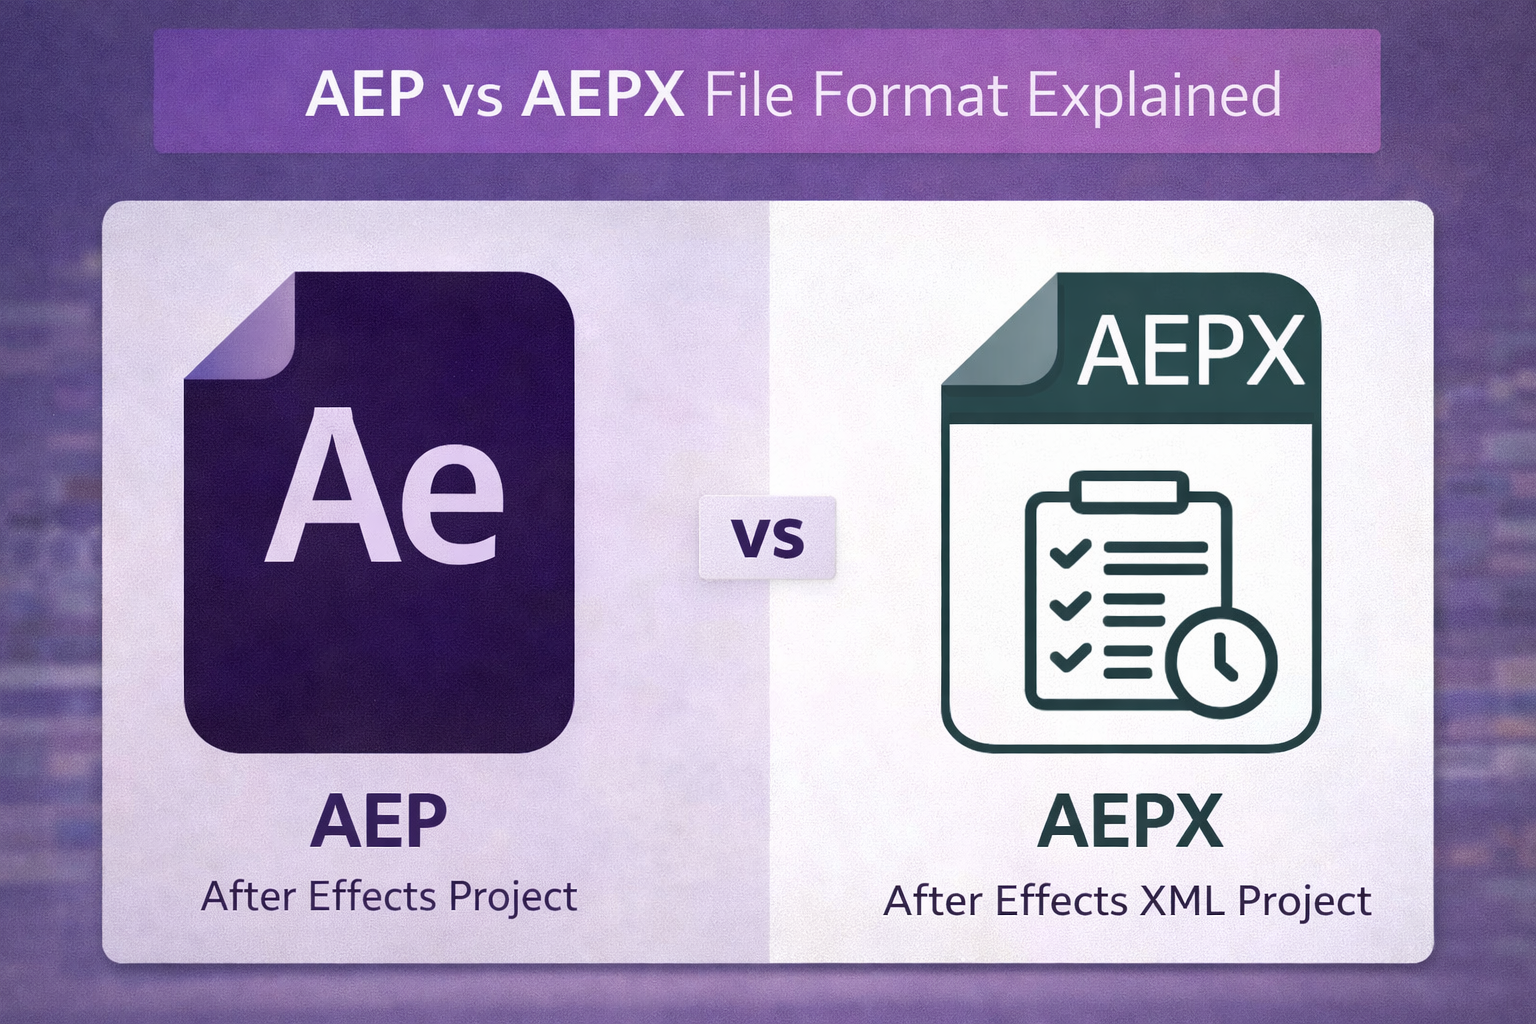
An AEP file opens directly in After Effects with full access to every layer, effect, and keyframe. A MOGRT is a packaged format built for Premiere Pro that limits customization to a small set of exposed parameters inside the Graphics panel.
Re-time to the new audio, adjust the color grade, modify text animations, layer custom sound effects, and replace all placeholder elements. Every customization layer moves the final edit further from recognizable template territory.
15 to 20 Mbps for 1080x1920 vertical output. Files above 20 Mbps trigger aggressive platform recompression that produces blurry output. Files below 10 Mbps arrive at the platform already compressed, which compounds during the platform's own re-encode.
30 to 45 minutes per edit. The time includes footage replacement, audio re-timing, color adjustment, text modification, sound effect layering, and export. Building the same edit from scratch takes 3 to 6 hours.
Explore more guides on After Effects project files and viral editing workflows.
Production-ready edits that teach you how they were built.