Back
Back

 Mar 01, 2026
Not every After Effects project file functions as useful study material, and opening the wrong file wastes more time than it teaches.
A project file worth studying meets six criteria:
Files built by working editors for production use tend to meet these criteria because the creator needed the same organizational clarity. After Effects project files designed for customization are typically the most structured and the most valuable for study.

Nine keyboard shortcuts and panel tools form the investigation toolkit for analyzing someone else’s After Effects project.
The most efficient study direction traces backward from the render composition to raw layers, starting at the finished output and working toward the source elements that built it. Working backward gives every layer meaning because you already know what it contributes to the final output.
Phase 1: Prepare the File
Before analyzing anything, create a safe working copy and ensure all assets are linked.
Use File > Save a Copy (not Save As, which switches your working file to the new copy). Save a Copy creates a duplicate while keeping the original untouched, giving you freedom to experiment without losing the working version. Run File > Dependencies > Collect Files to gather all assets into one folder, preventing missing file errors. Then run File > Dependencies > Remove Unused Footage to clear clutter from the project panel. For a walkthrough of the Collect Files process, see how to collect files in After Effects.
Phase 2: Navigate the Structure
Start at the render composition and trace the pre-comp chain backward to understand how the project is organized.
Locate the main render comp in the Project panel (usually labeled “Final Render,” “Master Comp,” or “RENDER”). Open the Flowchart View to see the full nesting map. Double-click pre-comps to trace the chain backward, moving from the render comp into the first layer of pre-comps, then into nested pre-comps inside those, until you reach raw shape layers, text layers, or solids. This backward path reveals the project architecture layer by layer. Read the folder structure as you go: professional projects organize assets into labeled folders (Comps, Pre-Comps, Footage, Audio, Solids), and the naming reveals workflow logic.
Phase 3: Analyze Layers, Effects, and Expressions
Once the project structure is clear, use the investigation toolkit to examine how individual layers produce the visual result.
Select all layers in a composition and press U to reveal every keyframed property, exposing the timing structure at once. Press UU on heavily modified layers to reveal properties changed from defaults without keyframes, including effects settings and expression-linked values.
Toggle individual effects off and on in the Effect Controls panel. A complex result is often 4-5 simple effects stacked (blur, levels, distortion, color shift, glow). Toggling each one isolates its contribution. Inspect blend modes on duplicate layers too: some effects come from layer interaction (a duplicate set to Add or Screen), not the effects stack.
Press EE on layers with red property values to reveal expression code. Look for control null layers with slider effects. Professional editors link these sliders to properties across the project using pick-whip connections, allowing one control layer to adjust colors, timing, or scale project-wide.
Phase 4: Document What You Learn
The study process only converts to skill if you record the techniques you identify.
Screenshot expression setups and control null configurations before moving on. These are the hardest elements to remember and the most valuable to replicate later. Note the effects stack order for any visual result you want to recreate (stacking sequence matters: blur before glow produces a different result than glow before blur). Bookmark reusable patterns: how the creator named layers, how pre-comps were structured, how color controllers were set up. These workflow patterns transfer directly to your own projects.
Study Real Viral Edit Timelines
51 viral edit and SaaS UI animation project files with organized layers, labeled compositions, and visible expression structures. Built by editors to use and learn from.

Studying a project file builds observation skill, but reverse engineering builds production skill by forcing you to recreate techniques without copying layers directly.
The practice pipeline follows four steps. Identify one specific technique you want to learn: a transition, an expression setup, a text animation, or an effect combination. Create a new blank composition and rebuild that technique from memory, referencing the original only when stuck. Compare your version to the original side by side (the differences reveal gaps: maybe the easing curve is wrong, the expression logic differs, or the blend mode interaction is missing). Integrate the technique into one of your own projects to confirm you can apply it outside the study context.
This cycle (study, recreate, compare, integrate) builds muscle memory through production, not passive viewing. For editors starting out, After Effects project files built for beginners are ideal for this pipeline because the compositions are simpler and the techniques more approachable.
Four study habits waste time and produce no transferable skills.
Copying layers directly into your own project. Dragging a layer from one project to another teaches nothing about how it was built. The animation, expression, and effect logic remain invisible.
Studying pre-rendered elements. If a layer is a video file (not a shape, text, or solid), the animation was baked elsewhere and cannot be reverse-engineered inside After Effects.
Modifying the original file without saving a copy first. Breaking an expression or deleting a pre-comp in the working file means losing the reference point entirely.
Trying to understand every layer at once. Study one composition at a time, starting with the render comp and working backward. Attempting to absorb the entire project in one session produces overwhelm and retention of nothing.
Built by Editors, Structured to Learn From
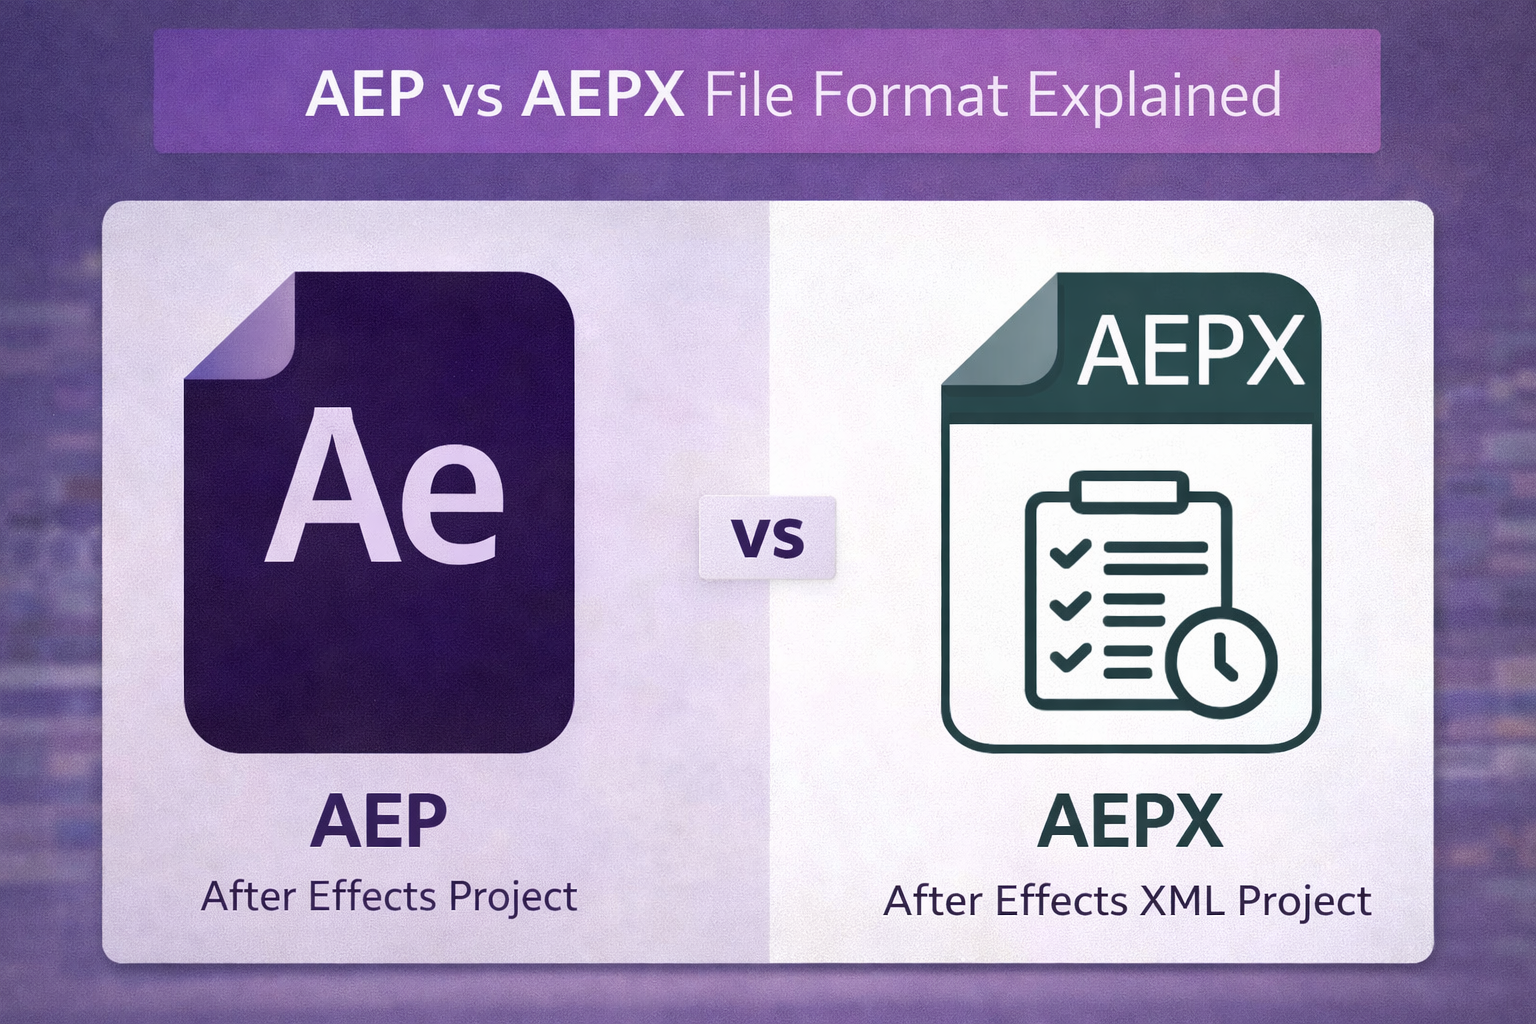
Every EarnEdits project file includes organized layers, labeled compositions, and editable effects. Fully open .AEP format is designed for both production and study.
Start at the render composition and trace backward through the pre-comp chain to raw layers. Press U to reveal keyframes, then UU to expose modified properties and expressions. This backward direction reveals architecture faster than exploring folders randomly.
U (keyframes), UU (all modified properties), EE (expression code), and the shy guy toggle are the four most valuable. The Composition Profiler (snail icon) identifies which layers are most complex and most worth examining.
No. Expression reading develops through studying files, not as a prerequisite. Press EE to reveal code, look for control null layers with sliders, and trace pick-whip connections. Even identifying expression-driven properties (red values) teaches you where automated logic exists.
Open .AEP files with native AE effects, organized folders, labeled layers, and visible keyframes. Avoid files relying on pre-rendered video elements or third-party plugins, because neither can be reverse-engineered inside AE.
Both serve different purposes. Tutorials teach isolated techniques in a controlled sequence. Project files teach how techniques combine in production, including layer organization, expression architecture, and workflow patterns tutorials rarely cover. Studying files after foundational tutorials accelerates development faster than either method alone.
Explore more guides on After Effects project files and viral editing workflows.
Production-ready edits that teach you how they were built.